|
|
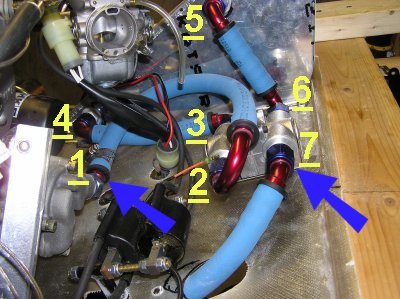
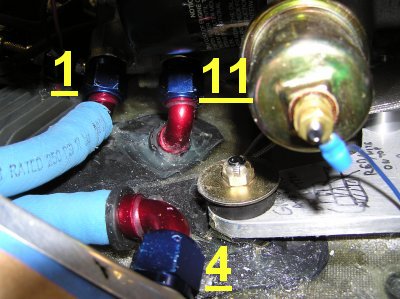
Ignore the blue arrows in this photo.
|
|
|
|
|
|
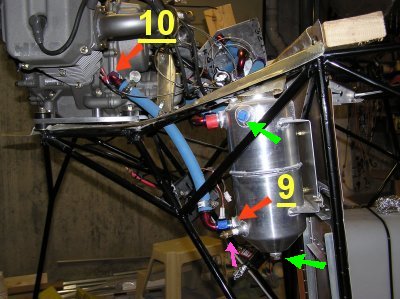
Pink Arrow: Oil Temperature Sensor - see 'Engine-Things on Other Things (3)'
Green Arrows: These get replaced with brass plugs - see
'Engine-Things on Other Things (3)'
|
|
|
|
|
|
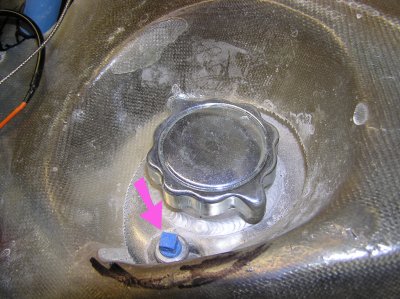
Pink Arrow: We still have to install the Oil Sump Vent tube. It will
go up 4 inches then down through the engine pan and out
the bottom of the plane. See 'eingine: where things go (2).
|
|
|
|
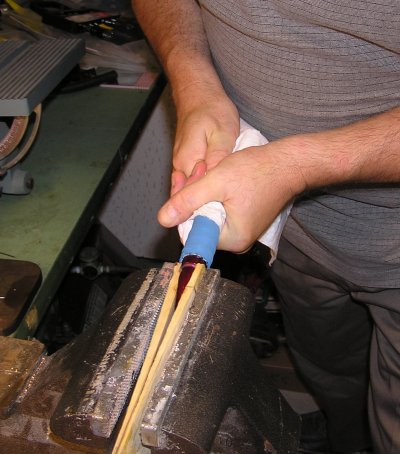
Initially, Ed 'pushed' the oil hose onto the connectors. This was very
strenuous. Also there are adjustments, so you need to do this more
than you think.
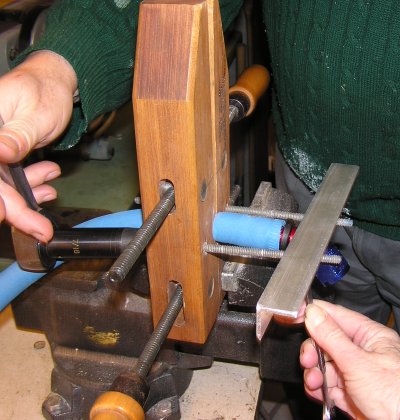
So Ed built the tool below. The time an energy saved
is WELL worth the time it takes to built.
|
|
|
|
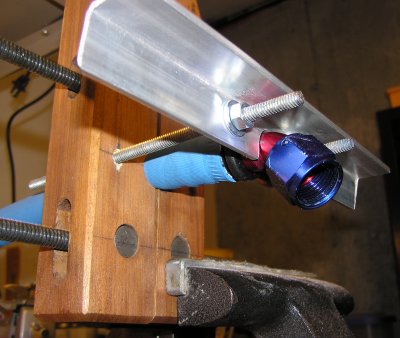
Tool for pushing oil hose onto connector.
Ed started with a wooden vise he had. Though he modified the vise,
it can still be used for it's intended purpose.
Ed drilled / sanded 2 semi-circles in each vise sides for the hose.
This hole 'holds' the hose in place.
It needs to be slightly smaller than the hose so the hose does not slip through
easily. Also, sand the corners so they do not dig into the hose.
Ed then drilled 2 holes for long threaded rods.
|
|
|
|
Ed also drilled holes for the threaded rod in a piece of angle iron.
Later, he replaced the holes with 'slots' so the treaded rod could move
left or right slightly, as the vise was opened and closed.
Also in the angle iron, Ed drilled / sanded a semi-circle
the size of the connector. A lip on the connector fits against
the angle iron so the connector stays in place when you 'push'
the hose on.
To use the tool, put a washer and bolt on each end of the
threaded rod. Put some Silicone spray on the connector so the
hose slips on more easily. As you tighten the bolts, the hose slips onto
the connector.
|
|
|
|
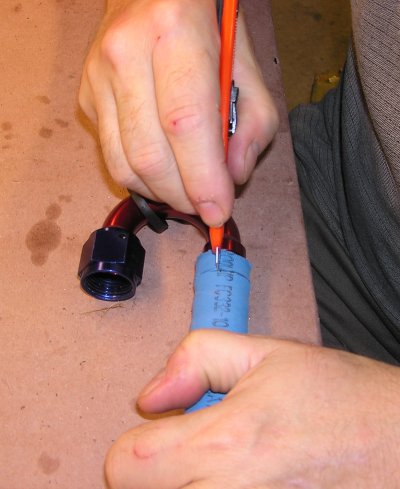
If you need to shorten a hose, you can cut it with a
razor knife. Cut around the connector, then slit the
piece being removed.
Now you can use your tool to push the hose the rest of
the way onto the connector.
If you need to remove a hose entirely,
just cut a slit the length of the connector.
|
|
