|
|
An aside...
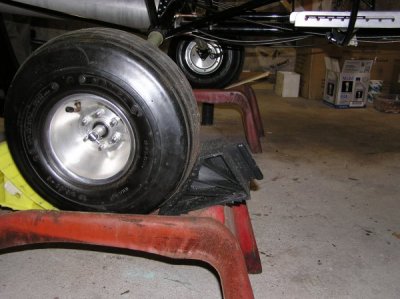
For working on the skins, we raised the plane and removed the
nose wheel. To do this, we put the rear wheels on drive up
car mounts.
|
|
|
|
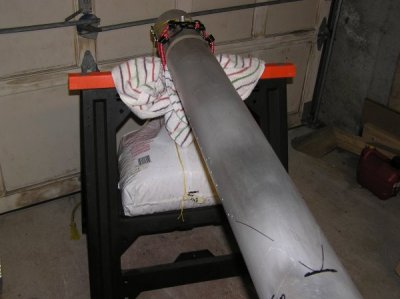
To keep the nose up, we 'tied' the tail to a saw horse with
a bungie cord. We put a towel under the tail for protection,
and a bag of speed-dry on the saw horse for weight!
This works great for working on the nose shell under the plane.
|
|
|
|
This shows how we fit the rear right side.
|
|

|
|
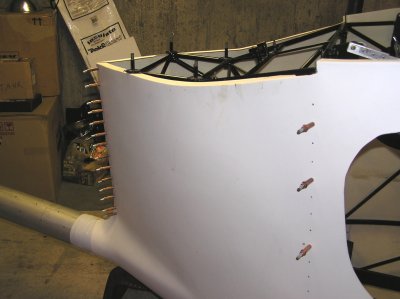
This is the front right side.
|
|
|
|
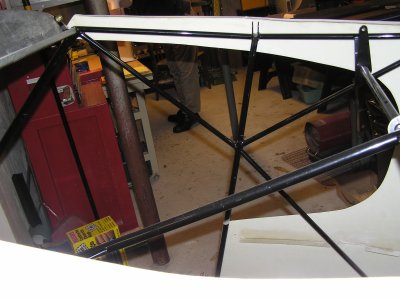
From the inside of the plane, this shot shows the top of
the right side.
At this point, we are not sure how the top is supposed to fit
with the wing on.
|
|
|
|
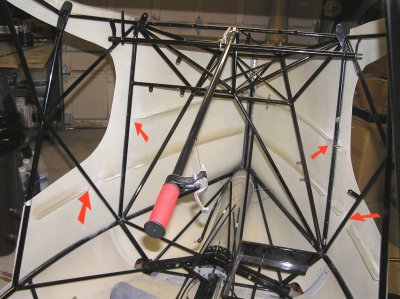
Red Arrows - inside we had to trim a few areas around tubing.
|
|
|
|
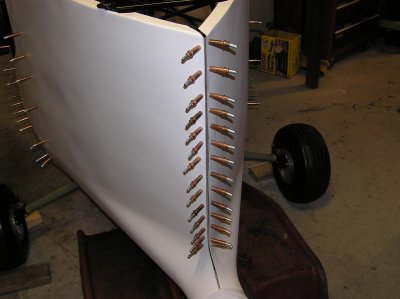
We followed the instructions to install the aluminum joint
in the rear.
|
|
|
|
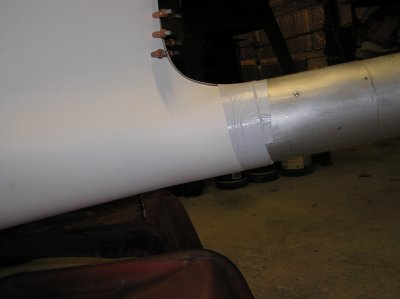
We taped the rear to the boom. One side overlaps the other
slightly, so the two sides are not mounted exactly the same.
|
|
|
|
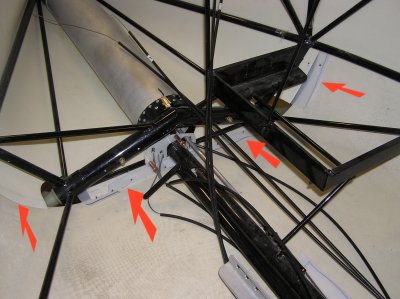
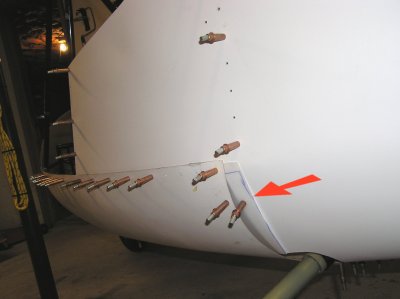
We tried to get the sides skins to match up with the bottom
nose skin, but failed.
Red Arrows - So we created some "extensions" first out of plastic,
then, replaced those with aluminum. We needed 4 pieces.
|
|
|
|
Red Arrow - This is what the outside looks like with the extension.
|
|
|
|
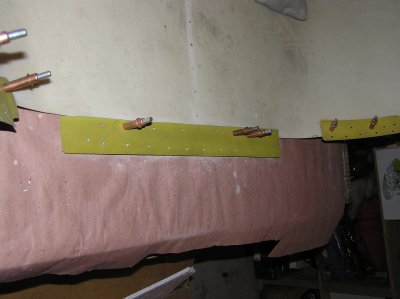
Ultimately, we replaced the plastic with aluminum.
We aldineded it and painted it white with Krylon "Fusion
for Plastic" spray paint.
|
|
|
|
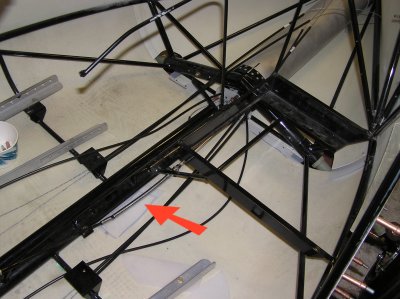
This is also where we noticed that our trim-tab solution was
inadequate - it hit the floor!
We considered putting plastic under it, but chose to
re-do it. (see "Re-Designing the Trim Knob Again")
|
|