Home Page ----- Odyssey Home Page ----- Previous Page ----- Next Page
The Rear Wall

The Rear Wall

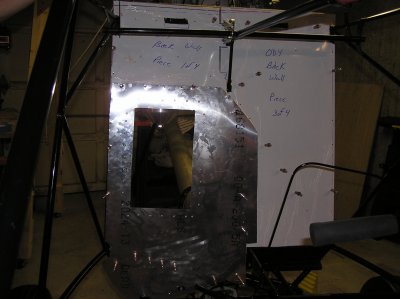
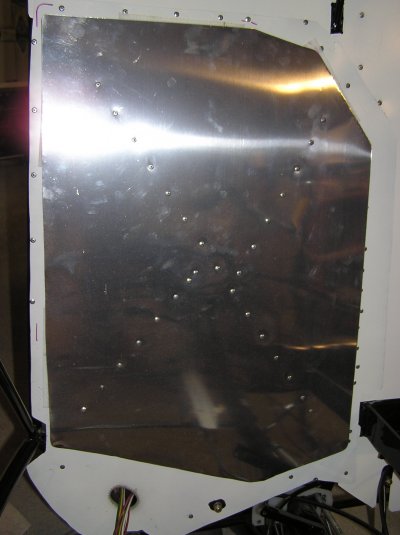
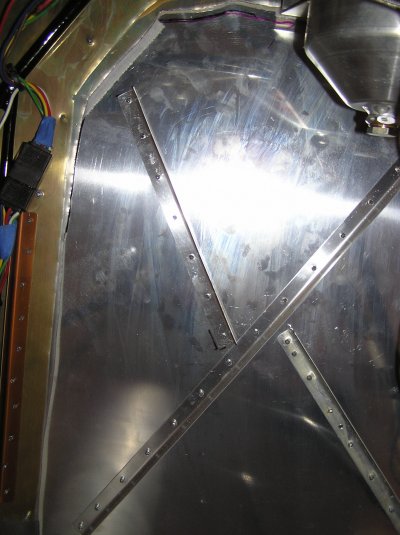
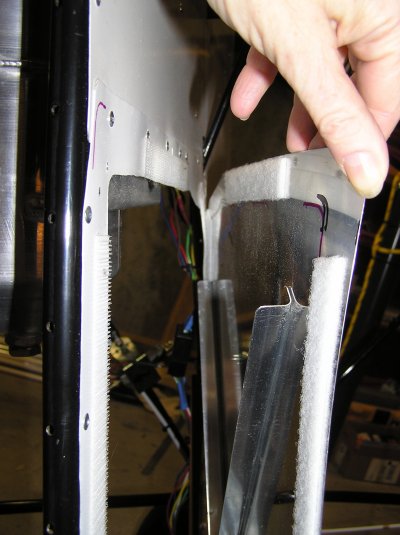
Completing the Rear Wall

We created the 4 panels for covering the rear wall. We taped manilla folders together and traced the wall shapes. Then we 'tweeked' the folders until they fit correctly and transfered any changes to the aluminum before cutting the aluminum.

It is hard to know how one area impacts another. We had to route one brake cable differently because of the way we designed the lower right rear wall (See "Routing Brake Cables)


This shows 3 of the 4 panels of the rear wall (not the lower right).

Initially we created a gallon size hole and hinged door in the large left panel for access to the oil sump tank and inside electronics.

We visited Mark Bierle and discovered that Mark uses the whole lower left panel as a 'door'.

So we created a 'door' like Mark's.

We cut out a hole in the existing panel that was larger than our first 'door'. We left the rivits in place and a 1" edge so we could velcro the door to this edge. Mark may have a better method for attaching the door. You should ask him.

We purchased a new sheet of aluminum and cut out a door that is slightly larger than the 1" edge.

Then we put velcro on the 1" edge and the back of the door.

We riveted a few stiffeners on the back of our 'door'.

You can also see the 1" riveted edge on the left. Notice on the far left that we put a stiffener on attached panel, as it was 'floppy' in the center of the plane.

This photo shows the door slightly open so you can see the rear stiffeners and the velcro on both the door and 1" edge.

Home Page ----- Odyssey Home Page ----- Previous Page ----- Next Page