Home Page ----- Odyssey Home Page ----- Previous Page ----- Next Page
The Flap Handle, Release Control and Notch Plate

The Flap Handle, Release Control and Notch Plate

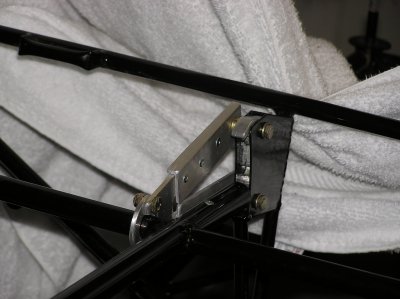
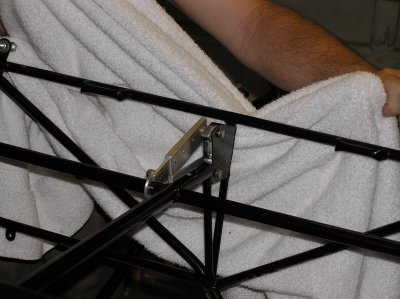
The Odyssey flap control is simple and elegant

It sits in the middle of the plane where either passenger can operate it. (Although, the left seat has a little better angle on it)


We inserted the flap handle cross tubes into the assigned holes in the frame. Notice the side protrusions point up (see arrow). For some reason the linkage was not long enough to fit onto the center bolts. We created aluminum extensions and riveted the parts together.

Once again. Don't let little things stump you. Find a way.

This is a photo of the back side of the central linkage.

NB. (Note Bene - Note Well!) We discovered later that the flap handle was supposed to have a welded tab on the center tube near the rear for installing the choke. So your flap handle will look different from these photos, as you will have the choke tab. As always, Mark took care of us and designed a slick riveted tab.

We installed the spring joint into the flap handle, inserting the cable through the hold in the tube. We then added the handle and grip.

Again for some reason the spring joint was too long. It fit into each of the 3 indentations, but would not compress enough to move from one indentation to another. So we riveted a 'stop' in the tube and pushed the spring joint in a little farther then normal. This works fine.

A - We needed to file the flap detent teeth to clear the engagament pin.

B - Washers clear the forward control tube.

Extra view.

Extra view.

Extra view.

Extra View.

Extra View.

Home Page ----- Odyssey Home Page ----- Previous Page ----- Next Page