|
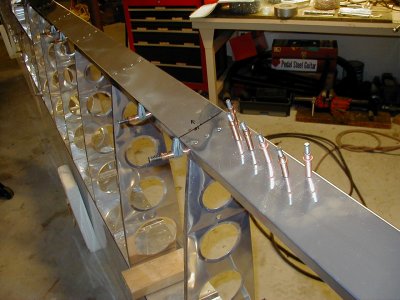
The attachment points for the ailerons and flaps need to be strengthened to handle the aerodynamic loads they will be subjected to. The Odyssey kit comes with pre-drilled and pre-bent hinge doublers. All you have to do is position them and then drill through the rear spar from the inside out. This photo shows one aileron doubler clecoed into position and one flap doubler, held on by side clamps, ready to be drilled. Note that the Aileron hinge points are on the Upper surface of the wing. The Flaps are on the Lower surface. |

|
The doublers need to be roughed up so that the J-B Weld epoxy glue has a good binding surface. You can use 220 grit sandpaper or a ScothBrite wheel, as I did hear, to do that. I placed 3 layers of duct tape on the grips of my vise and then clamped the doubler between the vise and a piece of wood. You also have to rough up the inside surface of the rear spar. |

|
This is a simple, but important, photo. It only takes a few minutes to deburr your holes. Just do it. Especially the exit holes. |
|
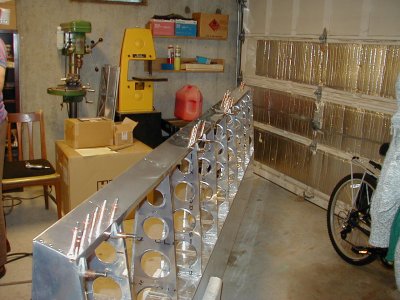
Here's the left wing with all five of the hinge doublers ready for gluing. |

|
We've mixed our J-B Weld and we're ready for gluing. We got a bit of a surprise here. It's pretty hard to keep your fingers clean of the glue while your positioning the doublers. I had to have Joanne push the rivets into the rivet gun to avoid getting glue on the rivet shafts. |

|
Here's what the inside view of a glued Flap doubler looks like. |