Home Page ----- Odyssey Home Page ----- Previous Page ----- Next Page
Week Four Plus

Week Four Plus

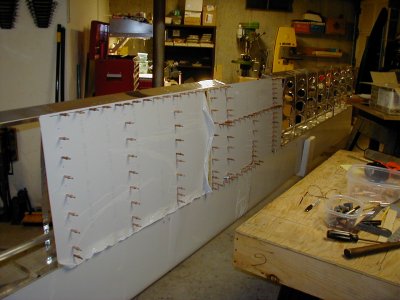
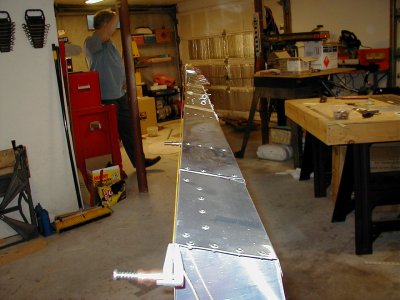
In week 4, we began the long process of skinning the wings.

This operation is quite a long process in building an Oyssey. But, it's ovbviously of critical importance.

In any monococque construction, the skin provides a great deal of the strength of the entire structure.

The Odyssey skin is both riveted and bonded to the ribs, D-cell and spars. Just like in painting a car, proper surface preparation is the key to success.

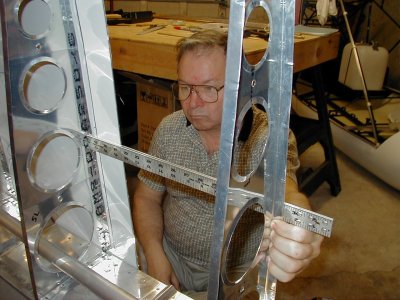
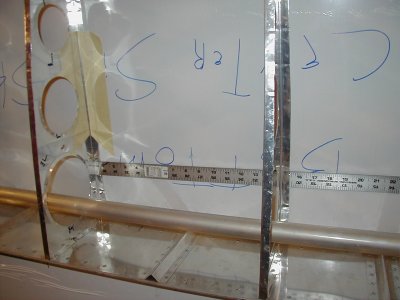
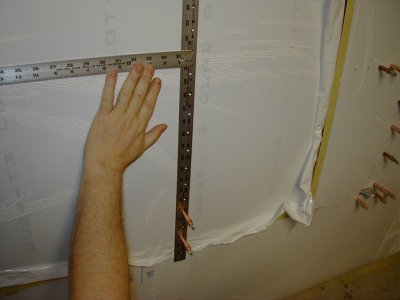
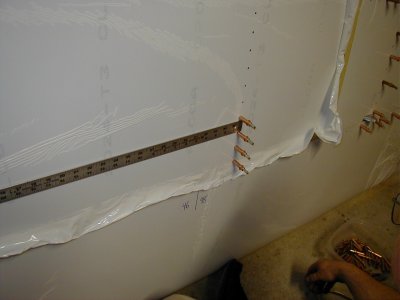
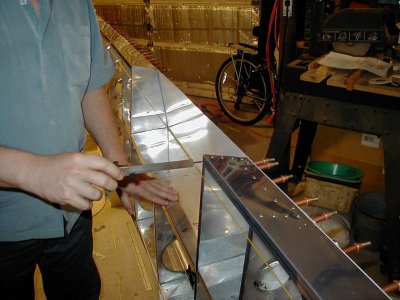
There won't be a lot of photos in this section. Instead, we'll show you some of the tools we devised and provide some tips and tricks along the way.

You'll need a method of locating blind holes.

We chose to make a hole finder out of two stainless steel yard sticks.

We simply riveted the two sticks together at one end. At the other end, we rounded the corners and sanded them ultra smooth with ScothBrite to make sure they wouldn't scratch the skins.

Notice that the sticks can easily span a whole bay. We also made an 18 inch version.

Here's an inside the wing view of the double ruler.

The ruler is between the skin and the rib on the right and then butted up against the rib on the left.

On the other side, all I have to do is position the drill at the 1/4 inch mark against the ruler edge to drill an accurate hole.

We use a temporary tack strip of 2 inch masking tape to hold the skin against the ribs until they are clecoed.

Here's another tool we use all the time ... a pre-drilled ruler with #30 holes on 1 and 1/2 inch spacing.

  • Use the double ruler to locate the first few bottom holes
  • Move to the top of the rib and make a mark for the center of the rib flange.
  • Now, draw a line, cleco the ruler to the first few holes while sighting the line through the upper holes..
  • Drill and cleco the new holes, without removing the ruler.
  • Occasionally check the drill exit holes to make sure you're on the center of the rib flange.

Here's the outside view of the second picture on this page.

Notice the premarked spacing dots for the rivet spacing.

All I do now is extrapolate, in my head, the rivet location based on the 1/4 inch mark on ruler and the pre-marked dot.

Here's a progress shot showing the Center skin and the first bottom skin on the left wing.

The panels are shipped longer than you actually need. Notice there's some excess material on the left side of the skin. This will be trimmed after all the skins are clecoe mounted and removed.

Throughout the skinning process we'd check the washout of the wings. We used two methods.

  • A digital SmartLevel (not shown)
  • A simple string check.

A lengthwise view of the string.

Home Page ----- Odyssey Home Page ----- Previous Page ----- Next Page