|
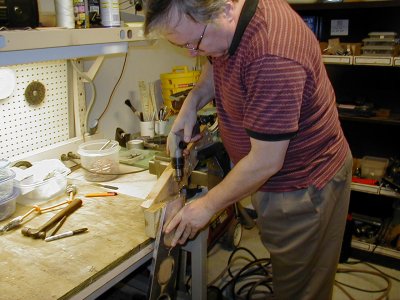
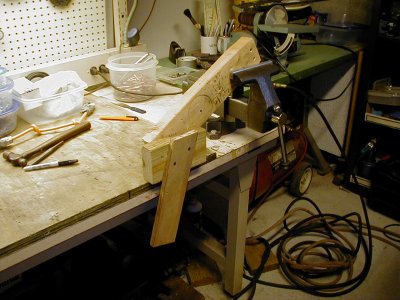
The first operation we did was to drill out the #30 holes in the root flange of all the wing ribs. I made a quick drilling jig out of some 2X4s that hung off the edge of our bench. Never hesitate to make these little jigs. It, ultimately, saves time and limits mistakes. |
|
I tacked a second board, cut at an angle, to drill the narrow rear spar flanges.
|
|
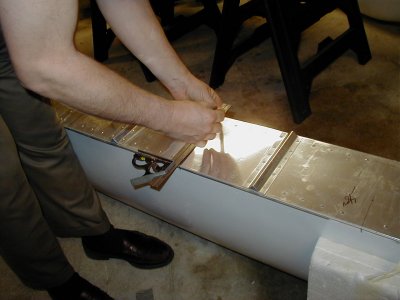
The next step is laying out the rib lines on the shear web of the D spar. The D spar comes pre-assembled from EarthStar. As Martha Stewart would say, "This is a good thing". |

|
Placing the ribs on the D spar for drilling. Notice that I'm using framer's shims to simulate the final skin. This is a handy little trick that we use often. |
|
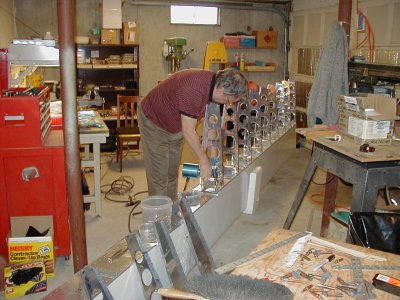
Riveting the ribs to the D spar. I'd highly recommend you purchase one of these pnuematic riveters. They're quite slick. |
|
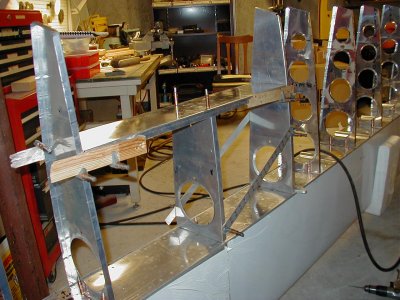
Here's the mid-spar section taking shape Here again, we make generous use of shims to simulate the skins. |

|
Mid spar outer stiffeners. In this process, we made extensive use of inexpensive, stainless steel rulers and lots of Cleco side clamps. Our recommendation is to get plenty of each. |